Lab 2: Practice Activities
CS 145: Images and Imagination,
Spring 2014
Return to Lab 2
You will not be asked to turn these in, however, it will be assumed you know how to write code to generate the images.
Types of loops: Loops are one of the most commonly used program structures. For this reason, we focus on them in this lab. There are a number of ways to do looping (i.e. repetition):
Read and Experiment: Carefully read through the assigned reading on Variables and Loops. As examples are presented, try them out yourself in the Processing. Try making small changes to the examples - can you predict what will happen before running the code? If you have questions on any of the concepts, please ask the instructor for additional help.
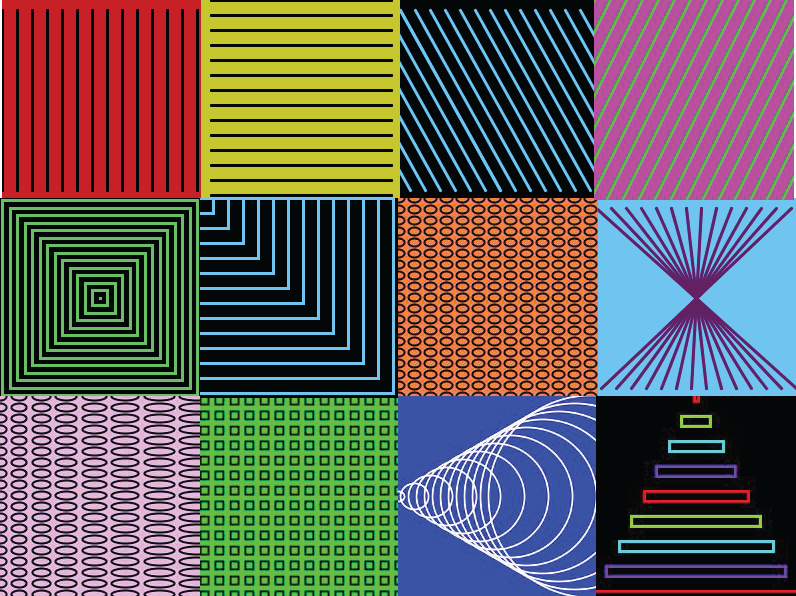
Looping with Shapes: Test your skills by trying to generate the images below in Processing (you don't have to re-create them exactly). Some of them require a single loop and some of them require what are called "nested" loops. Can you tell which are which by just looking at them?
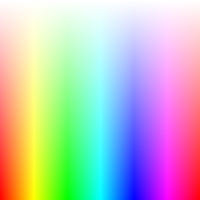
Looping with Color: By setting the color mode to HSB (lookup colorMode(HSB) in the online reference), and applying looping, one can get a rainbow effect. The first image below is a single loop over the Hue component of the color. The second and third images were created using nested loops where the Hue changed along one axis and the Saturation or Brightness changed along the other axis. Try recreating these images (the code for one of them is given in the reference for ColorMode)
 |
 |
 |
| Varying the Hue | Varying the Hue and Saturation | Varying the Hue and Brightness |
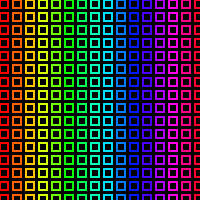
Looping on Multiple Elements: Once you understand how to vary color as above, you can start to combine elements within the loop, e.g. vary the color while also drawing rectangles:
 |
 |
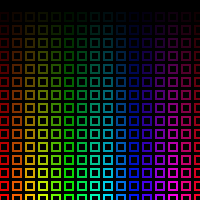 |
| Varying the Hue | Varying the Hue and Saturation | Varying the Hue and Brightness |
Order Matters: You can also combine shape elements in either a single loop or two separate loops. It is important to pay attention the order in which shapes are drawn because the order determines which shapes are drawn on top. For example, the images below contain both horizontal and vertical lines. The only thing that changes from picture to picture is the order in which the lines are drawn and whether the lines are drawn in separate loops (one for the vertical and one for the horizontal) or a single loop. Can you reproduce the effects?
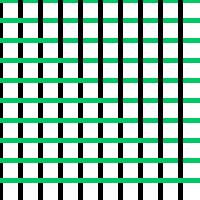 |
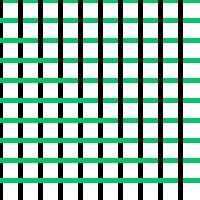 |
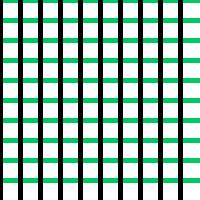 |
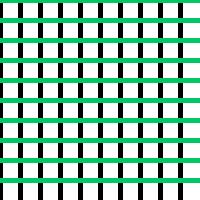 |
Random Numbers: Random numbers, when used judiciously, can add interesting variety to an image. Look up the command random() in the Processing reference (go to Help→reference) to read how it works. For example, if I want to generate a random color I could use the statement:
Or, if I wanted to generate a rectangle whose sides were random numbers in the range from 5 to 10, I could use the statement: For example, using random numbers to vary the color and the rectangle size as above, one can obtain the image on the right. |
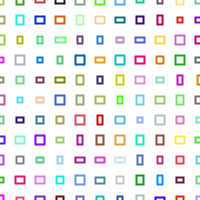 |
Working with Images:
It is simple to load and draw an image using processing. Begin by creating and saving a new sketch folder. Then locate a small image of your choice and copy it into the new sketch folder. If you want, you can just download the image "help.jpg" shown below. Next, paste the code on the left into your sketch. Run the program. It should display the image in a window which is the exact size of the image. Take some time to understand what the code does. You might want to look up some of the commands (e.g. image()) in the Processing reference. Note, we can obtain the width and height of the image using img.width and img.height.
| Program 1: Load and Draw an Image | |
|
|
Try running the code above using a different image. You will have to copy the image into the sketch folder.
To repeat and save the resulting repeated image, you just need to use a for-loop as shown below.
| Program 2: Repeating a small image |
|

|