SimpleJOGL
Animation about y-axis
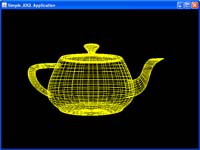 glutWireTeapot
To explore what the code is doing, try experimenting by making small changes. For example:
- Run the code and resize the window. What happens? The resize behavior is controlled by the code in the reshape method.
Do you understand the code? For example, what
happens when
h = (float) width / (float) height;
is replaced withh=1;Try changing other things such as parameters in the lines
gl.glViewport(0, 0, width, height);orglu.gluPerspective(45.0f, h, 1.0, 20.0);
- Move the camera in the display method (do you see how?)
- Transform the objects in the display method (e.g. rotate, scale, translate)
- Animation is actually turned on but nothing moves because you don't ever change what is drawn.
Try changing what is drawn, for example, by adding the following lines in the display method (where you put these lines is important!):
angle += 1;
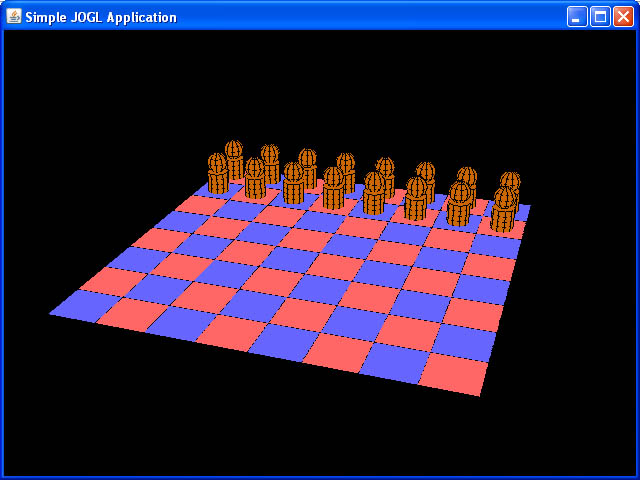
gl.glRotated(angle, 0, 1, 0); - Add glut objects (e.g. teapots, spheres, boxes, etc).