Lab 3: Lighting and Shading
IDS252: 3D Animation,
Spring 2013
Due Date: Wed, Feb 6, before the beginning of class.
Evaluation Sheet (pdf)
Due Date: Wed, Feb 6, before the beginning of class.
Evaluation Sheet (pdf)
The main artistic goal of this lab is to use lighting and shading to help convey the mood and meaning of a scene. The main technical goals are:
The files that you will need for the tutorials listed below can be found on cs-render in
the folder
\IDS252Sp13\IDS252GeneralResources\GettingStartedMaya2012LessonData\Rendering.
Copy this entire Rendering folder (but not the other folders) over to the folder \IDS252Sp13\Lab3\MayaProjects\your_name.
You do not need to create a new project. Open Maya and set the project to this Rendering folder.
These tutorials use a number of supplemental files: if you do not set the project, Maya will not set the directory paths correctly for these files.
In Maya, go to Help -> Tutorials. Click on the link Getting Started with Maya 2012. In the contents, click on Getting Started with Maya, and then Rendering. Do the following lessons:
The above tutorials will not be collected.
The goal of this portion of the assignment is to use materials, lighting and camera to convey a specific mood or atmosphere.
In class, you will be assigned a word representing an emotion, mood, atmosphere. Think of a scene that will convincingly convey the meaning of this word. Pay particular attention to the lighting, texturing, and camera. Try to make the scene as realistic as possible. Generate two images:
Brightness: An image displayed on a computer monitor always looks a lot brighter than the same image displayed on a projector. You should aim to make the image look good for the projector. To do this, you not only need to increase the overall brightness but also to exaggerate contrast in your image. If you can't check the image on the room projector, plan on making your image brighter than what looks good on the monitor. And always try to increase contrast.
Size: The size of the images should be 640x480 as before, but increase the resolution from 72 pixels/inch to 144 pixels/inch. If you are using the "Maya Software" renderer, be certain to set the Anti-aliasing Quality to "Production quality". If you are using Mental Ray, go to the Quality tab and set the "Max Sample Level" to 2 (increase it more if you see an improvement).
Suggestions for the scene:
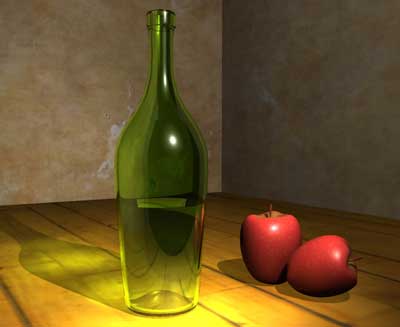
Materials and Shaders: Include in your scene at least 3 or 4 different objects that in real life have different types of surfaces. For example, a scene of a dinner table might have a wood surface, glassware, plates, silverware, etc. You may use objects you have already created in a previous lab but be certain to include a number of new ones as well.
Lights: Limit the number of lights, e.g. try not to exceed 3. Lights are important in focusing the viewers eye to what is important. They also help to clarify (or hide) shapes and features of objects. Can you explain the purpose of each of the lights in your scene? Recall in class, we talked about key, fill lights, and backlights.
Story: Part of conveying a mood, is telling a story. The image you create is a snapshot out of that story; the snapshot contains elements that hint at what has happened before or what might happen in the future. What story is your scene telling?
Character: You may use bloke or Andy if you wish. However, don't rely on them completely to convey the word you have been assigned. The light and textures must do most of the work.
Color: To create color unity, choose the dominent colors based on a chosen color scheme.
Composition: When composing your picture, consider design principles. Where is the eye drawn? Even though you are aiming for realism, still try to create a sense of cohesion through color, shape, light/dark, etc. Try varying the camera and light placement.
Your images are due Feb 6, before class. They will be graded based on these questions, which will be discussed during the critique (attendance is required).