Enable Lighting
Add a light by adding the code below in the init() method. Run the code. Note, the default location of the light is at the camera (i.e. (0,0,0) in the camera coordinates):
gl.glEnable(gl.GL_COLOR_MATERIAL);  // uses glColor to set the color
gl.glEnable(GL.GL_LIGHT0);
gl.glEnable(GL.GL_LIGHTING);
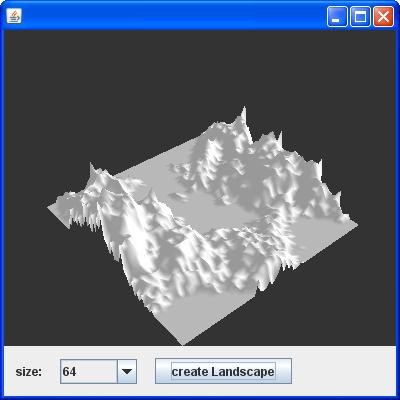
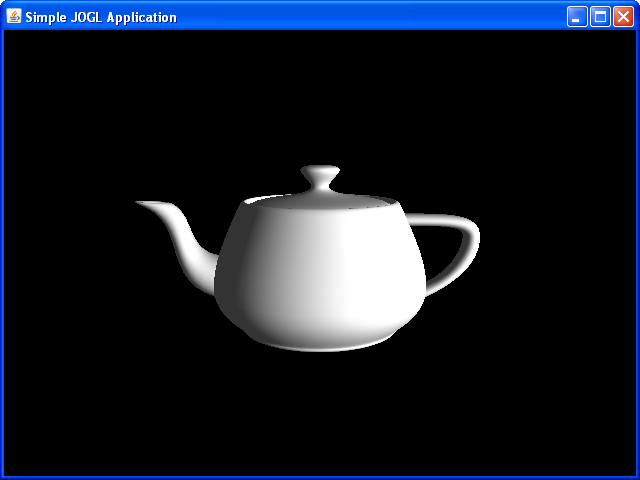
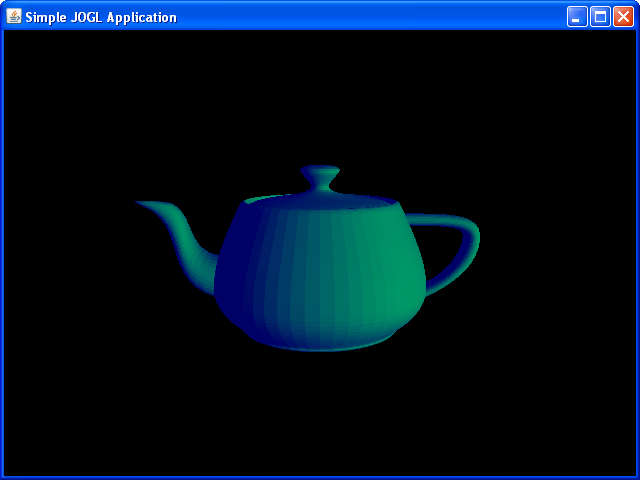
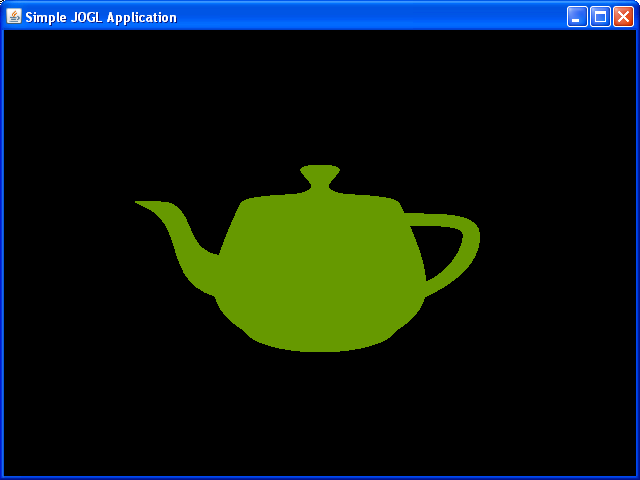
It your image looks different from the ones shown below, it may be because of where you placed your camera or because you forgot to include the depth testing ( gl.glEnable(gl.GL_DEPTH_TEST)). The camera in this example was set using glu.gluLookAt(0, 1, -5, 0, 0, 0, 0, 1, 0). The teapot is at the origin.
Note, as soon as you enable lighting, opengl ignores all colors set with glColor. The color of an object instead is set by creating materials. You can force it to use glColor by setting gl.glEnable(gl.GL_COLOR_MATERIAL). However, in just a short while, we will be adding materials.
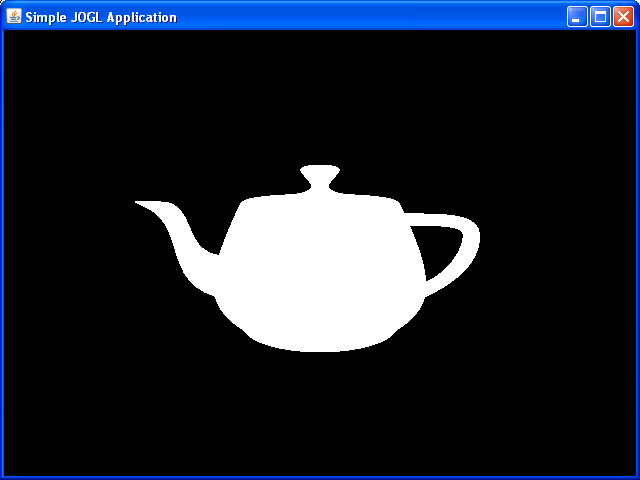
No lights |
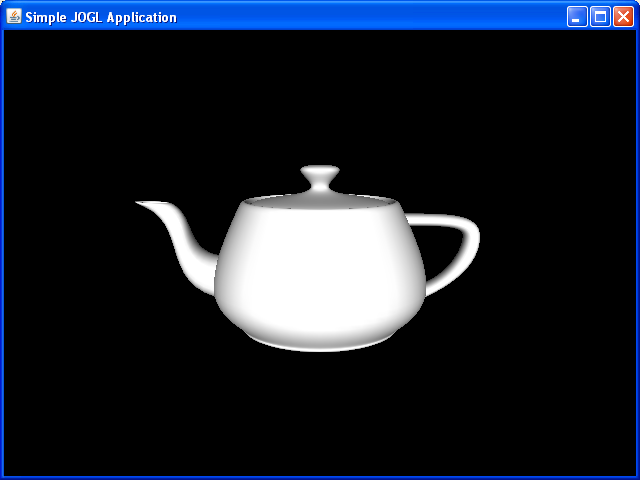
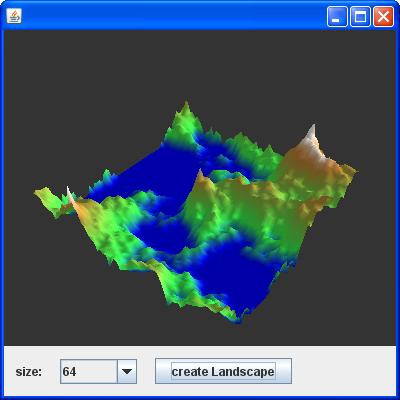
Lights |
Set Light Position
Next, explicitly set the location of the light, for example, using
float[] lightPosition = {10.0f, 0.0f, 5.0f, 1.0f};
gl.glLightfv(GL.GL_LIGHT0, GL.GL_POSITION, lightPosition,0);
Note, lightPosition[3]=0 (i.e. a vector in homogeneous coordinates) means the light is directional and
lightPosition[3]=1 means the light is a point light. Try different lightPosition values. Try placing the above two lines in different places in the code, e.g. in init(), in display() before or
after the gluLookAt, etc. Try to understand why the light appears as it does. Remember that when gl.glLightfv is called, the
light position is transformed by the current value of the ModelView matrix.
Also try to:
Get the light to orbit around the teapot.
-
Get the light to stay still and have the teapot rotate.

In init() |
In Display, before gluLookAt |
In Display, after gluLookAt |
Set Light Parameters
Set light parameters (e.g. in init or write separate method that gets called from init) such as
// set ambient for entire scene
float[] generalAmbient = {.0f, 0.0f, 0.4f, 1.0f};
gl.glLightModelfv(GL.GL_LIGHT_MODEL_AMBIENT,generalAmbient,0);

// Set ambient and diffuse for specific light (up to 8 lights)
float[] lightAmbient = {0.0f, 0.0f, 0.4f, 1.0f};
float[] lightDiffuse = {0.0f, 0.6f, 0.0f, 1.0f};
gl.glLightfv(GL.GL_LIGHT0, GL.GL_AMBIENT, lightAmbient,0);
gl.glLightfv(GL.GL_LIGHT0, GL.GL_DIFFUSE, lightDiffuse,0);

// Specular doesn't do anything until we add material properties
float[] lightSpecular = {1.0f, 1.0f, 1.0f, 1.0f};
gl.glLightfv(GL.GL_LIGHT0, GL.GL_SPECULAR, lightSpecular,0);
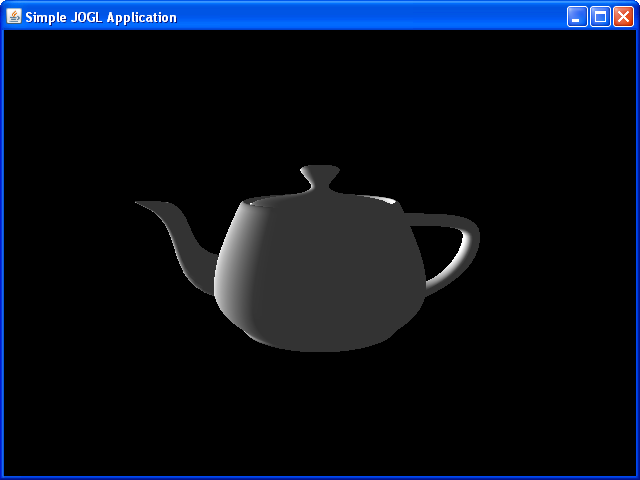
Think about the meaning of ambient, diffuse, and specular; vary these parameters
to see how the affect the image.
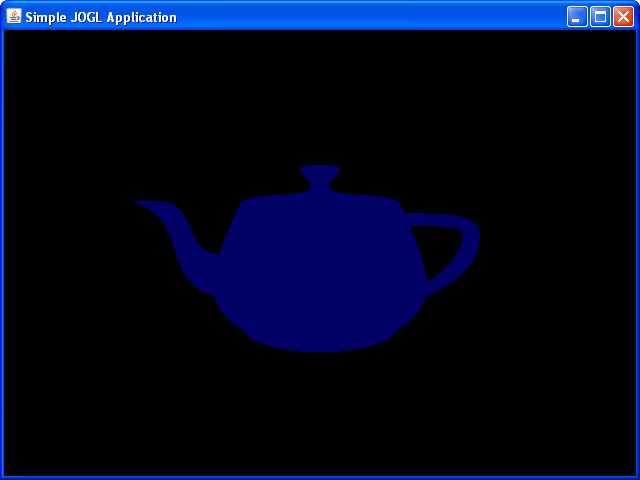
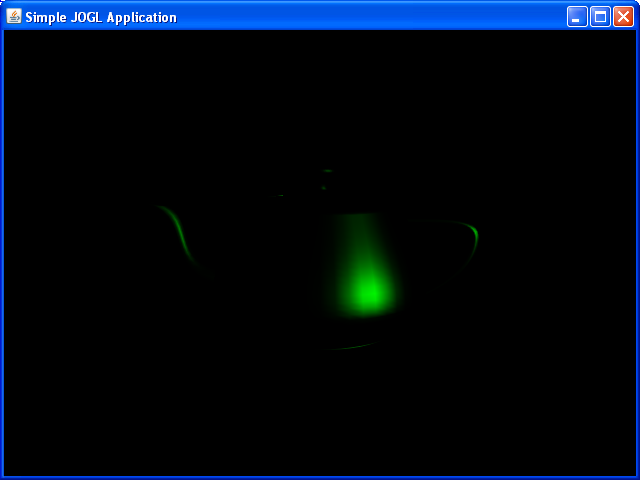
Ambient only |
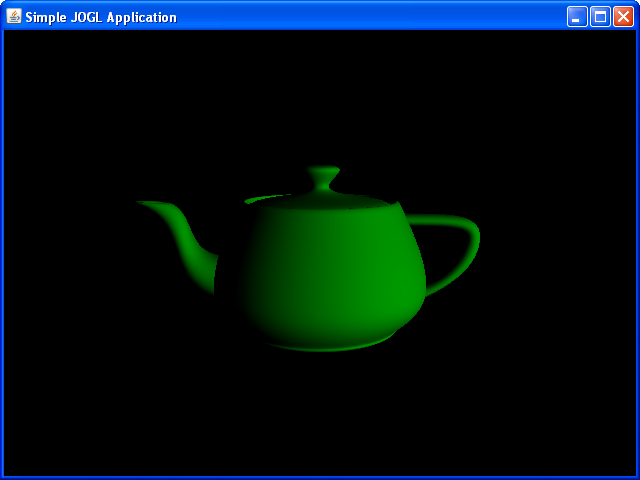
Diffuse only |

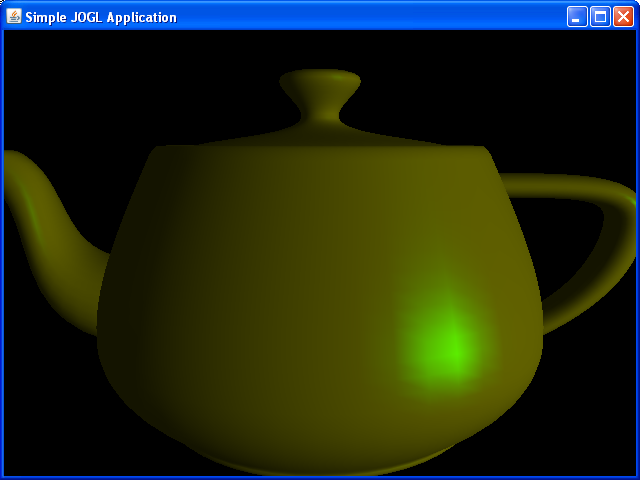
Both ambient and diffuse |
Set Shading Model
Look at how varying the shading model affects the image (place in init):
gl.glShadeModel(GL.GL_FLAT);vs
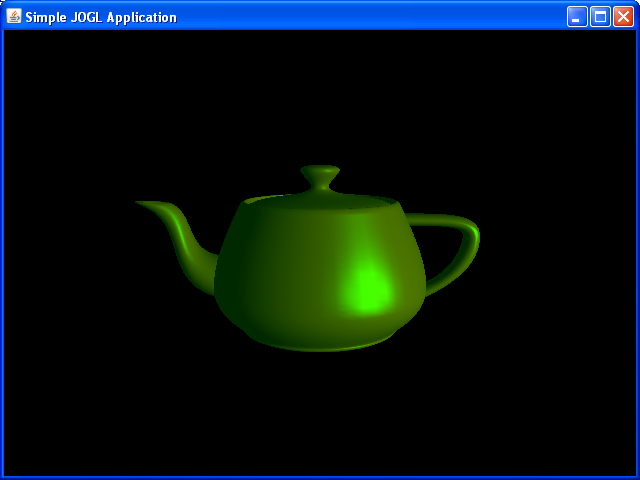
gl.glShadeModel(GL.GL_SMOOTH);
Flat shading |
Enable and Set Material Parameters
If you have included the line gl.glEnable(gl.GL_COLOR_MATERIAL), make sure it is commented out so the color is set with a material rather than with glColor.
Set the colors of the lights from the previous section to be white so that we can see the effect of the material color. Then, set the material properties in init():
gl.glMaterialfv(GL.GL_FRONT_AND_BACK, GL.GL_AMBIENT, amb,0);
gl.glMaterialfv(GL.GL_FRONT_AND_BACK, GL.GL_DIFFUSE, diff,0);
gl.glMaterialfv(GL.GL_FRONT_AND_BACK, GL.GL_SPECULAR, spec,0);
gl.glMaterialf(GL.GL_FRONT_AND_BACK, GL.GL_SHININESS, shine);
where amb, diff, and spec are float arrays of length 4 and shine is a single float (you must create these). Experiment with different values. Can you create materials that represent surfaces such as plastic or brass or whatever. Notes:
- These parameters have default values so if you want to turn one of them off, say ambient, you must set amb to (0,0,0,1).
- Specular looks pretty bad because of Gouraud shading, especially with a low polygon count. You need to use programmable shaders to get good specular highlights (see red teapot below).
- Without real reflection (e.g. as is modeled in ray tracing), it is hard to create objects that really look shiny. Often, reflections are approximated using environment maps. We can discuss these more when we get to texturing.
All objects created after the above material properties are set, will have this material. If you want to use a second material, then you need to reset the parameters. In such a case, it helps to create your own Material class that stores values for a particular type of surface. Include a method that resets all of the above parameters (amb, diff, etc). This will make it easy to switch between materials.
You can do the same with lights, i.e. create your own Light class that stores the parameters of a particular light. This helps to keep your code clean so that it is easy to read, modify, and reuse in a later program.
Only Specular Material. Set others to zero. |
Diffuse and Specular Material Click image for close-up. |
Ambient, Diffuse and Specular Material |
Only Emissive Material. |
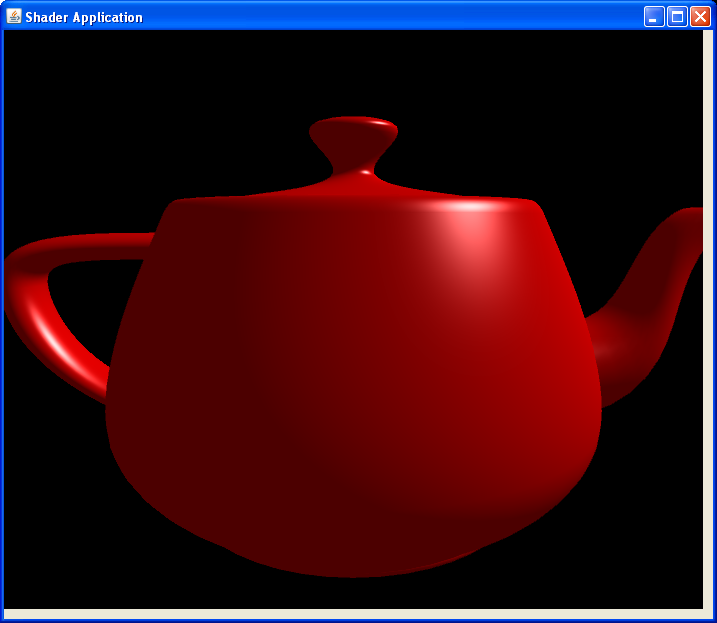
Example using a phong shader. Click image for close-up. |