Lab 1: Introduction to Maya
IDS252: 3D Animation, Spring 2014
Due Date: Wed, Jan 22, before the beginning of class.
Evaluation Sheet (pdf)
The computers in Ford 202 are dual boot. If you hold down the "options" key as the computer boots up, it will give you the option of booting in Windows. If you do nothing, it will boot up as a Mac. At the moment, it does not matter which you use. However, for some of the things we do later, you will need to be working on the PC side which can cause confusion with the keyboard.
To see the mappings of a PC keyboard on a Mac, go here.
In class, we will walk through some of the more common things you will need to know about the interface and file server.
Open up Maya 2014
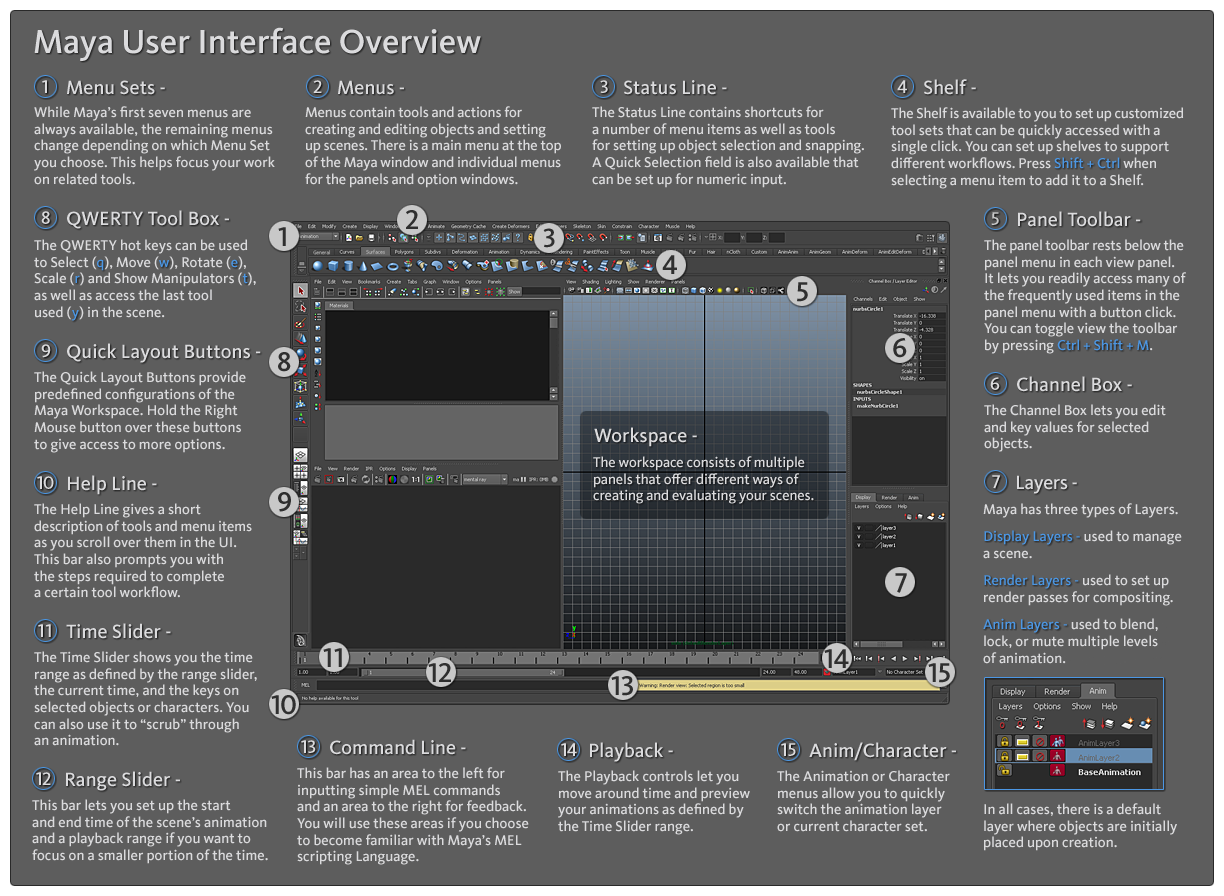
Learning the Interface: A quick reference of the interface may be found here. Become familiar with the terms used to refer to the different parts of the interface, e.g. Menu sets, Status line, etc.
Getting Help: It is important to become familiar with the online help. You will make constant use of it over the course of the semester. For example, in Maya, go to Help → Maya Help (F1). Under the Contents window on left, select Basics → Interface overview to read about the Maya interface, coordinate system, selection modes. Poke around the other sections to explore what else is available. You will need to make use of these help pages frequently in the future.
Navigation: To do this part, it is best to have headphones. If a window titled 1 Minute Startup Movies is not open already, click on the menu Help → 1 Minute Startup Movies. Take a look at movies 1 through 6 (i.e. "Zoom, pan, and roll" through "Discover secret menus"). As you watch, try things out in Maya itself.
Maya Projects: A Maya project is simply a folder or set of nested folders where all your maya files are stored. Projects are important to create because when you save or render maya scenes, a number of different files are generated and saved. If you have created and/or set a project, all of these files will be saved into the project folder, otherwise it is anyone's guess where many of these files will end up. In this lab, you should have two Maya Projects, one for the temple and one for the character. Directions will given in the tutorials explaining how to create your projects.
Keep Multiple Versions: You should save versions of your scene as you work (e.g. temple1.mb, temple2.mb, etc) so that, if you make a mistake that can't be undone, or if Maya crashes (a common occurrance!), then you don't have to start back at the very beginning again.
Location, location, location:
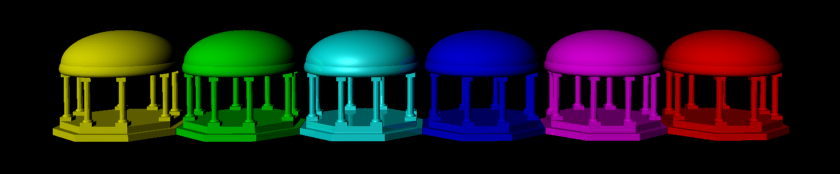
Tutorial Instuctions: Go to Help → Tutorials, click on the link Getting Started with Maya 2014 and then go to Getting Started with Maya → Maya Basics → Introduction . Follow the directions for making the temple (lessons 1-4). In the end, you should have a model of a simple temple.
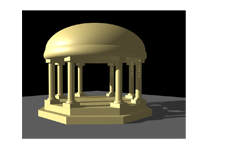
Render the Temple: Rendering means taking the scene you have created, choosing a camera, and generating an image file. Directions are described here:
 on the toolbar in Maya (ask if you can't find it)
 |
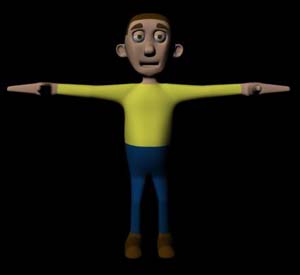 |
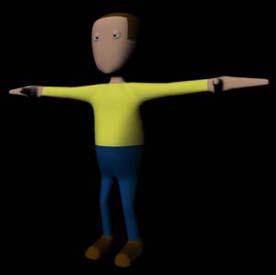
| The character without Chp 4 | The character with Chp 4 |
Polygons: Polygon modeling is an easy and common way of modeling objects. Here, you will learn how to create a human-like character using polygon modeling.
Instructions: The instructions are in the file MayaPolyModeling.pdf which can be found in the folder on cs-render:
You will also need the two tif files stored in the same folder. The tutorial instructions will explain how to use these files. This is a long tutorial. Your goal is to:
Before the beginning of class on Wednesday, Jan 22, your two maya projects should be on cs-render in the folder
The main goal of this lab is to familiarize yourself with the Maya interface and basic modeling tools. Therefore, the lab will be graded on a pass-fail basis - see the evaluation (pdf) sheet for criteria.
There is a lot to get used to in this first lab. If you have ANY questions, it is important that you ask.