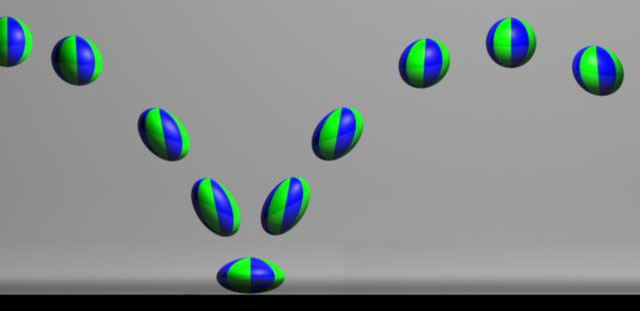
Lab 4: Creating an Animation Loop
IDS252: 3D Animation,
Spring 2015


Due Date: Tues, Feb 17, before the beginning of class.
Evaluation Sheet (pdf)
Goals
- Become familiar with setting and adjusting keyframes and timing to create an animation.
- Learn how to use the graph editor to adjust keyframes.
- Experience how music can enhance/alter your animation.
- Deliverables: A 10 second animation loop, in quicktime format (.mov). Place in
the designated
folder on cs-render. See Evaluation Sheet (pdf).
Resources
I can't stress how important the Principles of Animation are if you want your animation to really come to life.
Become familiar with them. For this lab, see if you can apply one or two of them to your animation.
- A list of these principles is given here: Principles of Animation.
- Squash & stretch
- Anticipation
- Staging
- Follow-through
- Overlapping action
- Slow-in, slow-out
- Arc vs linear motion
|
- Secondary action
- Timing
- Exaggeration
- Knowledge of technique
- Observation and translation
- Appeal
- Imagination
|
- You can watch Digital Tutors videos for each of the principles by going here:
12 Principles of Animation in Maya.
To learn the technical elements of animation, the following tutorial is suggested: Go to
Quick Start to Animation in Maya.
All of the lessons are worthwhile, particularly:
- Lesson 2 Setting your animation preferences
- Lesson 3 Exploring the playback controls
- Lesson 4 Keyframing with the Channel Box
- Lesson 5 Creating keyframes with the Set Key
- Lesson 8 Managing animation in the Graph Editor
- Lesson 10 Reviewing your animations in real-time with Playblasts
Maya Modeling Tutorials
Create a new Maya project
and save Keyframing.mb into the scenes folder.
In Maya, go to Help → Tutorials.
Click on the link Getting Started with Maya 2015. In the contents,
click on Getting Started with Maya, and then Animation.
Do the following lesson:
- Lesson 1 (Keyframes and the Graph Editor). The Graph Editor is very important. Often it is the only
way to obtain a desired behavior or to to fix animation problems.
The above tutorial will not be collected. Please delete any large images files when you are done,
especially any ipr or *.iff files.
10 Second Animation Loop
- Project: Create a new project (or use the one you created for the above tutorial) on cs-render in the folder
\IDS252Sp15\Lab4\MayaProjects/your_name
Use the default Project settings.
Remember, once the project is created, you must set the project every time you re-open
Maya to insure that Maya will save files to the right place.
-
10 Second Animation Loop: You are to create a 10 second animation with the following requirements:
- The animation should be a loop, i.e. it should end exactly where it begins. To do this, set the
keyframe at t=1 for whatever object you are animating. Then, without changing anything in the scene, move the slider to t=240 and
set the keyframe again. At this point, you can begin animating in between.
- Feel free to use the rigged characters from the previous labs.
Also use any objects you have created so far. If you want, create a few new objects but only if they are fast to create.
- The motion does not have to be complex but there should be some non-trivial motion (having only a sphere move in a straight line across
the screen is trivial).
- In order to get realistic motion, observation from real life is a must. Try to find reference video online or watch yourself in a mirror.
- Keep in mind the Principles of Animation.
- Use the graph editor!
- In order to really focus on the animation, KEEP EVERYTHING ELSE SIMPLE. It is strongly recommended that you
- Use a limited color palette. Avoid distracting textures. Better to use solid colors. Your goal is to
make the movement feel realistic and not the modeling or shading.
- Use only one camera. Keep the camera still or, at least, limit its movements to a few cuts.
- Don't use the default perspective camera. Instead, create a new camera (e.g. called renderCam).
Once you set the renderCam's location, you can lock its transformations so that the camera is not accidently moved.
You can then use the perspective camera to move around the scene.
- Keep the lighting simple but make sure the thing you want the viewer to focus on is clearly lit and stands out
from the background.
- Keep the environment simple. You don't want to spend lots of time on modeling and shading.
- If you use a rigged character (e.g. bloke) focus on animating only a
part of him, e.g. only his head and face, or his upper body (head, shoulders, arms). Don't try to animate him doing a
full body walk. This is much too difficult to do well as your first animation.
- Detailed technical instructions for setting up Maya and creating the
animation can be found:
Steps in Maya for Creating an Animation
We will also go through this in class but you should know where to find them if you have questions about what to do.
These directions include steps for "batch" rendering, which is also discussed in the tutorial
Getting Started with Maya→ Rendering → Lesson 1: Rendering a scene → Batch rendering a sequence of animation frames
- It is important to set the FPS, playback speed, and render settings, before you begin animating.
- Make sure you save the animation as a quicktime file, i.e. the extension of the file created by your video editor should be .mov
-
When you have completed the animation, place it in the folder: \IDS252Sp15\Lab4\FinalAnimations.
Make sure that the name of your animation is named as in the previous labs.
It is very important that this lab be turned in on time because we will be giving the animations to
the music students to score. If your animation is late, it will not be scored and you will have nothing to show when
we do the joint critique with the music class. The music collaboration is an important component of this lab.


